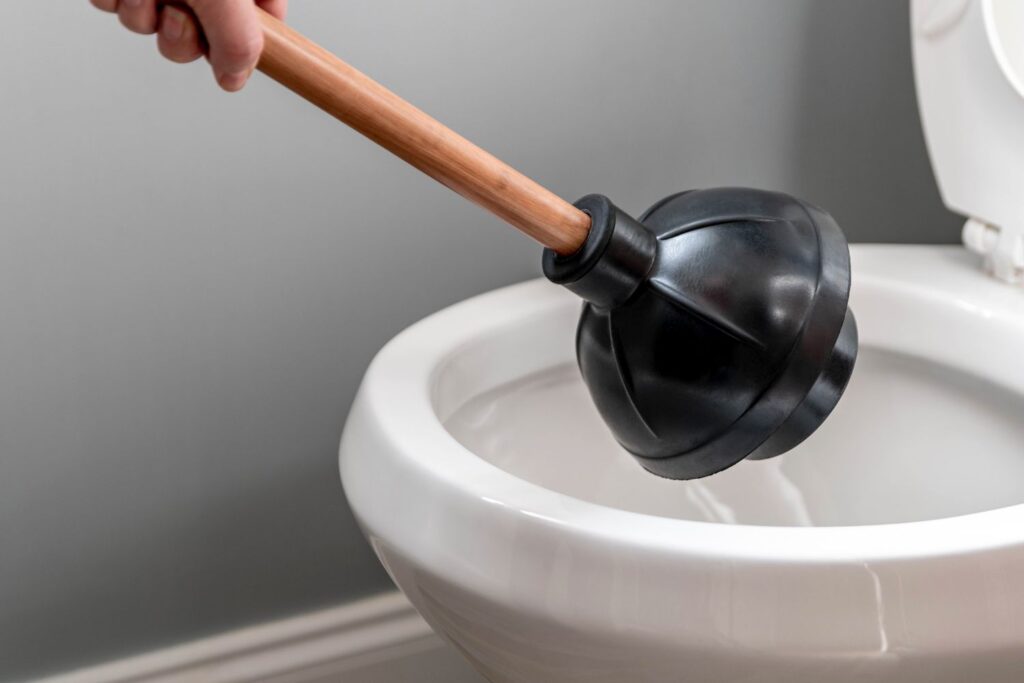
Plumbing problems can be a real headache, and a frequently encountered issue is a clogged drain. When faced with this inconvenience, having a plunger on hand is a homeowner’s saving grace. However, many people underestimate the importance of creating a proper seal between the plunger and the drain, which is crucial for a successful unclogging. In this comprehensive guide, we’ll delve into the art of plunger sealing, offering top tips and hacks to help you become a clog-clearing expert.
1. Choose the Right Plunger:
First and foremost, it’s essential to select the right plunger for the job. There are two primary types of plungers: flange (or ball-shaped) plungers and cup plungers. The flange plunger, with its extra piece that folds out, is ideal for toilets as it can form a better seal in the curved drain. On the other hand, the cup plunger is suitable for flat surfaces like sinks and tubs.
2. Inspect and Clean:
Before you start plunging away, take a moment to inspect your plunger. Ensure it’s clean and free from any debris, as foreign particles can hinder the creation of a tight seal. Give it a quick rinse if necessary to ensure optimal suction.
3. Apply Petroleum Jelly:
One of the best-kept secrets of the plumbing world is using petroleum jelly to enhance the seal between the plunger and the drain. Applying a generous coat of petroleum jelly to the rim of the plunger helps create a better suction seal. This simple trick can significantly improve your plunging success rate.
4. Position Properly:
Proper positioning of the plunger is key to success. Position it directly over the drain opening and press down firmly, ensuring that it covers the entire area. The plunger should be parallel to the drain to maximize the seal.
5. Maintain Pressure:
When you start plunging, it’s crucial to maintain steady pressure. Push down forcefully and then pull up gently, maintaining a rhythmic motion. This action helps create suction and dislodge the clog.
6. Use a Wet Towel:
For irregularly shaped drain surfaces, like those found in some sinks or tubs, creating a seal can be more challenging. In such cases, placing a wet towel around the plunger can work wonders. The damp towel fills the gaps and helps create a tighter seal, improving your chances of success.
7. Patience is Key:
Remember, patience is a virtue when it comes to unclogging drains. It may take several attempts, especially for stubborn clogs. Don’t give up too quickly; persistence often pays off.
In conclusion, mastering the art of plunger sealing is a valuable skill for any homeowner. By choosing the right plunger, keeping it clean, using petroleum jelly, positioning it correctly, maintaining pressure, and employing a wet towel when needed, you’ll significantly increase your chances of successfully clearing clogs. If you find yourself overwhelmed or would rather let the experts handle it, give ASAP Drain Guys & Plumbing a call. So, the next time you’re faced with a stubborn drain, you’ll be well-prepared to tackle the issue like a pro. Happy plunging!


